Makeup tutorial – Tequila sunrise :)

1. Start with priming your eyelid. If you don´t prime your eyelids your makeup is going to end up underneath your eyes or smudged out all over the place. If you have very oily eye lids or are planning on a long night with lots of dancing I recommend using a primer like the Urban Decay Primer Potion underneath your cream base. My eye lids aren´t that oily so I´m only using Mac Paint pot in Bare Study, which is a really pretty golden shimmery beige and will enhance the gold eyeshadow we are putting on top later on. Put some underneath the eye as well. After priming, apply a matte skin toned eyeshadow on the brow bone – this will make it easier to blend later on. My favorite eyeshadow for this purpose is Mac Brulé.
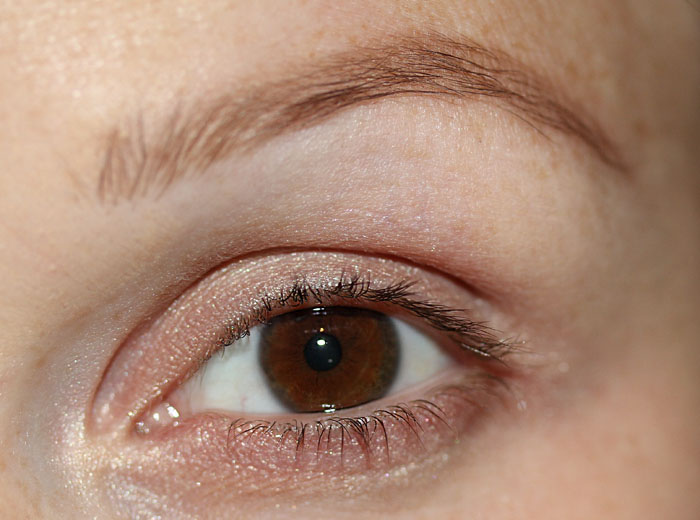
2. Take a flat brush and apply a light gold in the middle of the eye lid. You will get a better result if you pack the colour on rather than brushing it on. Take also some of the same light gold eyeshadow and brush it into the inner corner of the eye, this will open up your eyes. I used a Mac 239 brush to apply AMC Shine 30 from Inglot, a really pretty gold from a brand that deserves much more attention than it gets. We are talking high quality at really low prices, the down side is that it´s really difficult to get a hold of most places in the world. This makeup addict sniffed it out in Dubai. Yay :)
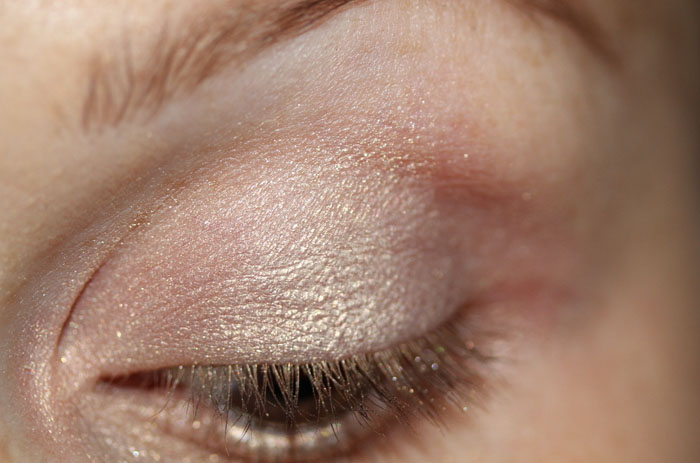
3. Use a small fluffy brush to apply a fun pinky peach colour almost all the way to the outer corner. Peach and gold is such a beautiful combination! I used a Sigma E45 to apply Mac Paradisco. I also used a little bit of Cranberry in the outer corner which is a a deep berry colour that gives some nice depth to the eye with the peach and gold. The transition from light gold to peachy pink to the deep berry is beautiful and perfect for summer!
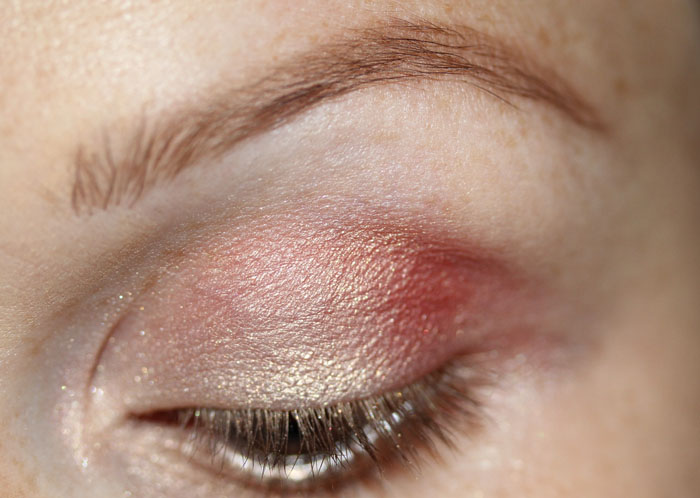
4. Put some underneath your eye as well. Gold in the inner corner, peachypink in the middle and a berry colour in the outer corner to meet up with the berry colour in the outer corner of the lid.
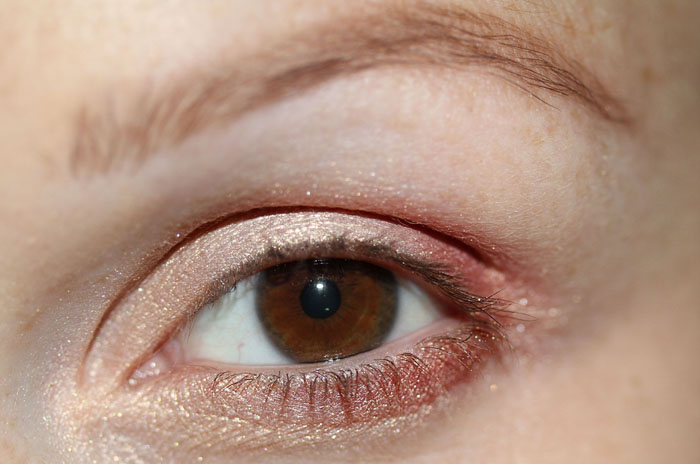
5. To soften it up take a big fluffy brush and blend in a soft brown to the crease. I´ve used a E25 brush from Sigma to blend in Kid from Mac.
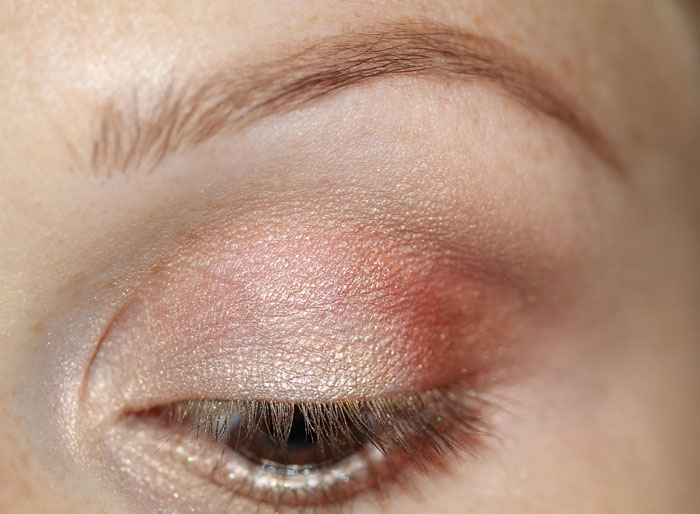
6. Add falsies if you wish and finish of with mascara and a thin line of liquid eyeliner. If you are lookig for some extra oomph you can apply some glitter on top of the gold in the midle which gives a nice gleam to the eye . I used Midnight Cowboy Heavy Metal glitterliner from Urban Decay and just dabbed some onto the lid.
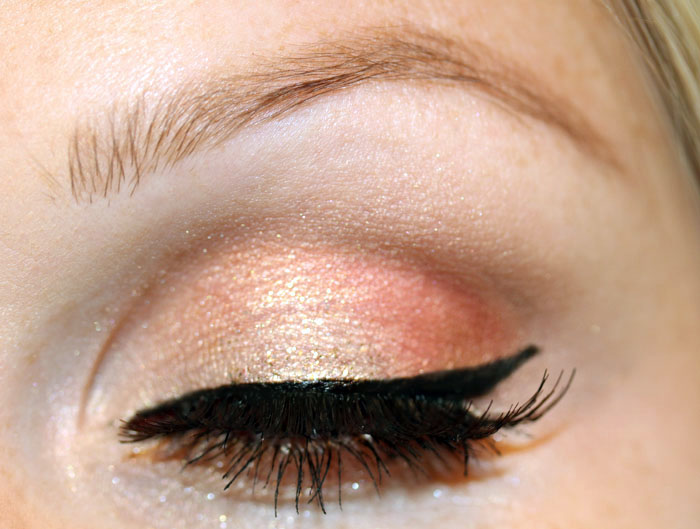
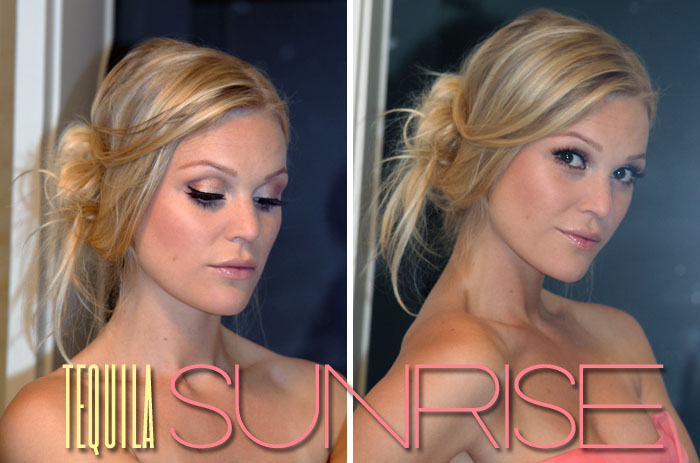
On my skin I used the very much loved Nars Sheer Glow which is the best foundation for covering up flaws at the same time as making your skin look glowy, healthy and natural. I use the shade Fiji which is something like a Mac NC25-30, if you´re more of a NC15-20 I recommend Deauville. These are the only two shades I have but if I get more tanned this summer I’m definitely getting another one and I’ve heard that Barcelona is supposed to be a nice colour for NC30 so it will probably be that one!
After I applied the foundation I brushed on some loose powder from Chanel, applied a “beauty powder” called Shy Beauty (LE) from mac as a blush and the highlighter part from the Mac Wonder Woman msf Pink Power (LE) on the cheek bones and finished off with a pink sheer lipgloss from Chanel.
Most of the brushes I use are from Sigma Beauty which you can get here. Most of the eyshadows i’ve used in this tutorial are from Mac which can be a bit difficult to get some places in the world but you can easily change some of these shadows to shadows from other brands like the eyeshadow duo Nars Hula Hula.
I hope you enjoyed it and I would be happy to recieve other makeup requests in the comment section!! :)
No comments:
Post a Comment